Digitip 036 – Adobe InDesign CS2
This tip is born out of some work I have been doing over the past few nights. It gives you the ability to insert new rows using the <tab>-key command that have different row strokes applied to the bottom to what the last row actually indicates…. I wanted to insert new rows that were ‘dotted’ at the top, yet the last row needed to have a solid bottom stroke to indicate the end of table. I’m sure there might be other methods for doing this… but this is the one I ended up using.
Create the table
Create a new table with required number of rows and columns, using the Table > Insert Table command.
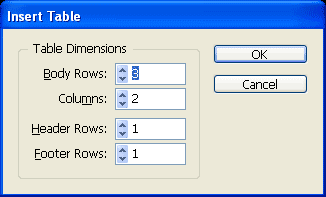
I’m using a simple table for this example. For this tip to work, you MUST include a single Footer Row.
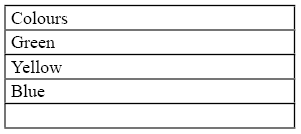
Formatting the table
Next, select the entire table by clicking in the top left corner of your table and switch off all default stroke settings by changing the stroke weight from 1pt to 0pt.
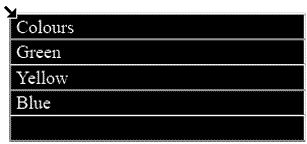

Your table cells disappear. With the table still selected deselect the two side lines in the proxy preview in the Control palette and set the stroke to 1pt and the stroke style to Dotted.

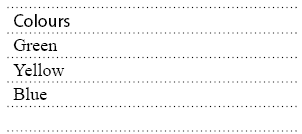
Now select the Header row and change the format for the top and bottom stroke to Solid.
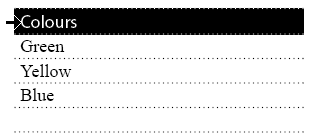

Next, select the Footer row and start by changing the stroke weight to 0pt. The stroke weight box will be white indicating the we have various stroke settings selected. Just ignore this. Do not deselect the Footer row yet.
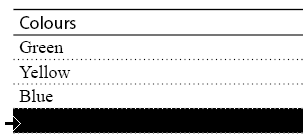

After you’ve set the stroke weight to 0pt, select only the top stroke in the proxy and change the stroke weight back to 1pt and stroke style to Solid. Do not deselect your Footer row.

Now right-click (Ctrl-click on Mac), the Footer row and select Table > Cell Options > Rows and Columns.. Change the Row Height settings to be “Exactly” and set a small depth (you can’t set it to 0 unfortunately), and click OK.
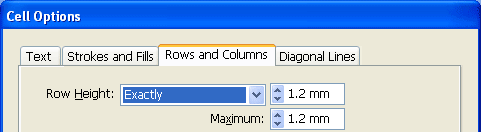
Your table is now prepared for row insert at the bottom. Let’s test it.
Testing one-two-three
Place your cursor behind the last word in the last table row (ignore the Footer row as being there…). Press the TAB key on the keyboard to insert a row below… and voila dots remain whilst the bottom line retains its solidness.
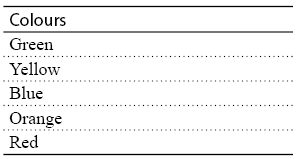
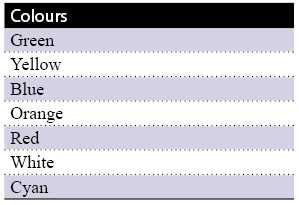
To spice up your table you could add alternating fills or reverse the colours of your header.
No Comments Yet