Digitip 029 – Adobe InDesign CS
The polygon tool, used to create star shapes in InDesign is an interesting tool, especially for Macintosh users, who -when not using the tool preferences to set specifications – have to wiggle their mouse whilst dragging the polygon tool and pressing up, down, left and right arrows to control points and star inset. All in all this effort creates a straight forward starburst. The following tip shows you how you can make your bursts burst.
(1) Editing star shapes through Scaling.
The more basic method for creating alternative starbursts is through manual editing of the shapes, using the direct selection tool.
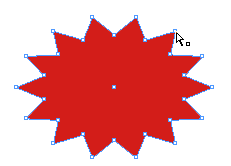
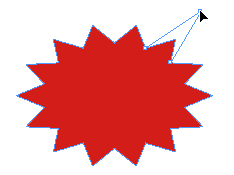
As soon as you click the direct selection tool, you can see the individual anchor points on the star’s path. The small white dots indicates you’re hovering over an individual point, start click-dragging the mouse to reposition this individual point.
I think we’ve all done that, but really if like me you are a bit of a perfectionist, you’d want each spike to have the same length.
What a relief to know we can actually do that 🙂
Start by creating a starburst with an EVEN amount of points.
Then select each alternate anchor point using the direct selection tool (white pointer).
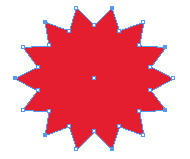
Then ensure your reference point is set to the centre.
![]()
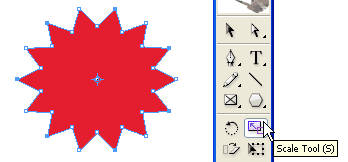
Then double click the Scale Tool, the Scale dialog box will appear.
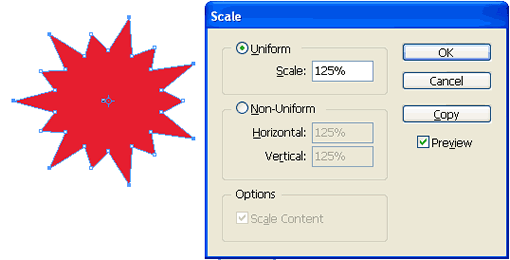
Enter a Uniform value, click OK and you’re done 🙂 The starburst you have created can be sized, scaled and transformed on completion.
(2) Corner Effects on polygon shapes
Corner effects are one way of enhancing the basic polygon or star burst, below are a number of examples with their before and after look as well as applied Corner Effects settings.

Inverse Rounded effects applied to a polygon shape.
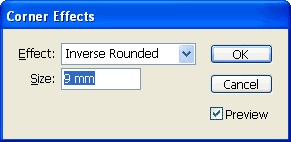
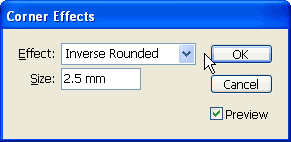
 A small inverse rounded corner effects applied to a star shape gives a totally different effect.
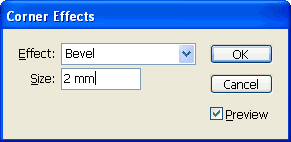
 Creating coils? Try a bevel corner effect.
 A small inset on a star shape, creates a zig-zaggy look.
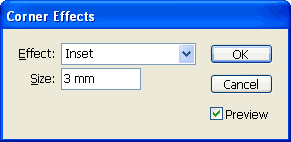

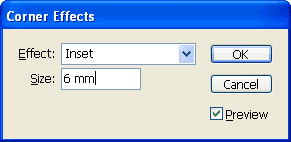
The same shape with a larger inset, provides a totally different result.
Storing your bursts for future usage
Now that you’ve created a page full of your favourite bursts, the use of a library might come in handy. Think of a library as an empty shelf, it can store your favourite objects, images, logos, groups and other page items.
To create a new library select File > New > New Library…
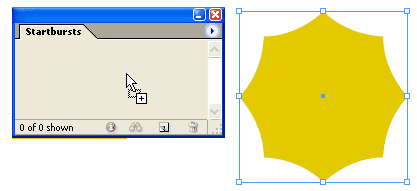
Alt (Option) drag your burst to the library, this will prompt you with an Item Information dialog box in which you can enter Item Name as well as Description.
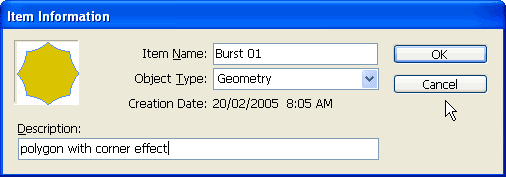
The information entered can be used to generate and display subsets of you starburst library.
The InDesign library is not like your ordinary library, where you can ‘borrow a book’, take it off the shelf and leave a gap in the row of books from which you grabbed it. Nope, the InDesign library leaves the bursts on the shelf and places an exact copy on your page.
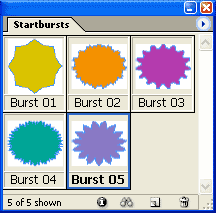
With your favourite set of bursts stored in your library, you now have a set of bursts readily available whenever needed.
Hello! I am trying to curve the tips of my starburst uniformly to one side like a wave.I’m recreating a saw blade.
I can create one, but changing all tips manually will not be uniform indwell be too time consuming. Do you have any suggestions? Thanks!
@Deborah You’re most welcome 🙂
Thanks, Cari! I’m looking forward to playing with these techniques! Thanks so much for taking the time to make the How-to!
This is a very useful tip! Thank so much Cari! I’m teaching InDesign at the University here this year, and this technique will come in handy while teaching the students how to modify their vector drawing tools.
@Brian. Thanks for the kind words. Always wish I had more time as my head is full of these 🙂