This is part 1 in a 3 part tutorial on Vector Smart Objects.
An Illustrator file as a smart object
Illustrator files that you have created can be added to Photoshop as Vector Smart Objects. The Illustrator art is nested inside its own layer in Photoshop when the smart object is created.
Creating the object
To create a Vector Smart Object, either copy and paste art from Illustrator, or use – as I’m doing here – use the File > Place command.
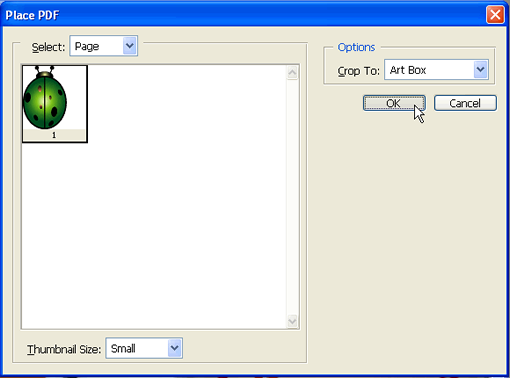
Navigate to your Illustrator file, then click Place and in the Place PDF dialog box, se the Options “Crop To” setting to Art Box, then click OK.
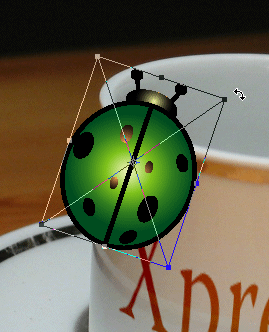
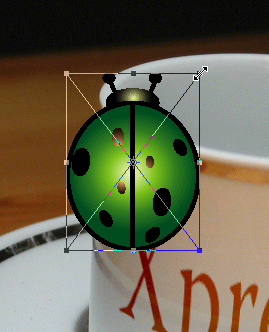
Your Illustrator art is now placed in Photoshop.
A transform bounding box appears around your artwork, that behaves a bit like Edit > Free Transform. Shift-dragging one of the corner handles will scale and moving the cursor outside the corner handles enables rotation.
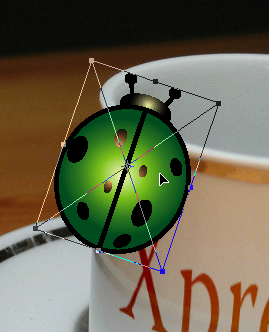
And moving the cursor outside the corner handles enables rotation. Press the Enter or Return or return key on the keyboard to apply these settings.
With the Move Tool selected I can further position this newly created layer, which indeed is a Smart Object layer.
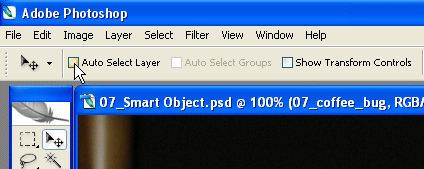
I’m enabling Auto Select Layer as my move tool options, so I can automatically select my bug layer.
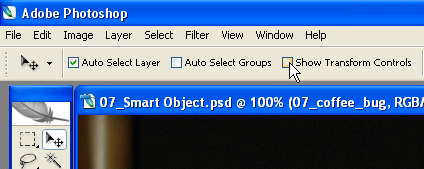
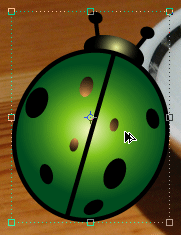
In addition I will enable the Show Transform controls option which allows me to easily apply transformations to selected layers without having to access the Free Transform command.
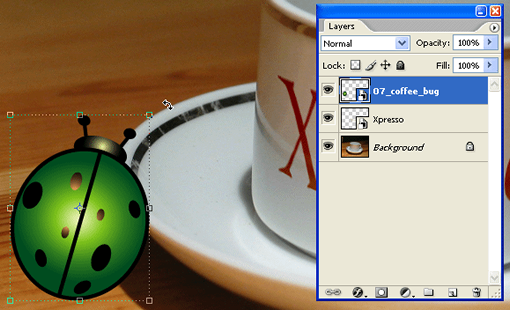
Clicking the bug, now displays the transform controls and automatically selects the appropriate layer in the layers palette.
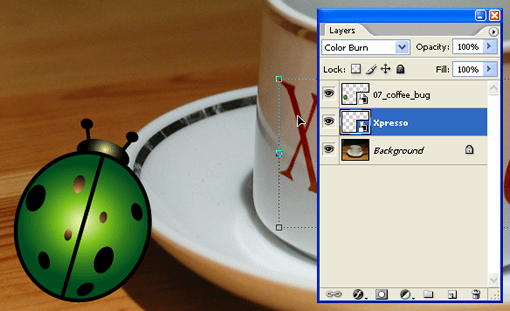
Clicking the text “Xpresso” automatically selects the Xpresso layer. B.t.w this word is by no means associated to “that other page layout applications” 🙂
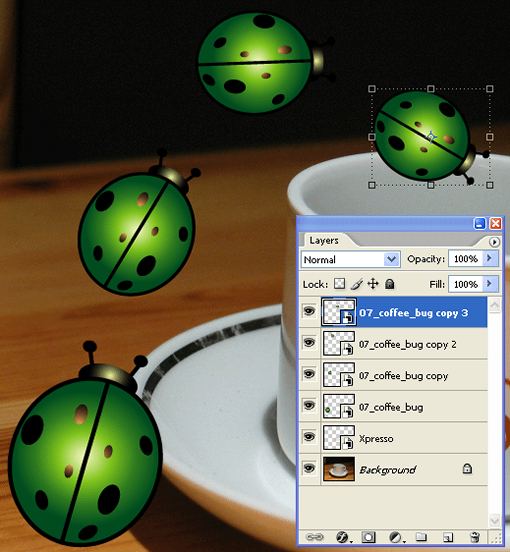
With both these settings enabled I can now use my Alt or Option key to drag a number of coffee bug copies on my graphic and at the same time scale, rotate them as I am creating the copies.
And yes, the graphic is no literally littered with coffe bugs 🙂
Continued: Part 2 of Tutorial
Video Tutorial
No Pings Yet