Digitip 026 – Adobe InDesign CS
(Revision 1.0)
1+1 = 3. The following shape magic tip has been added thanks to creative thinking by Paul from Snap. In searching for a method to create the following effect, AND have the ability to resize the shape without affecting its contents, the nested shapes came up as a clear winner over my own “create the shapes in Illustrator method”… Hence me sharing the better of the solutions.
Designing the content
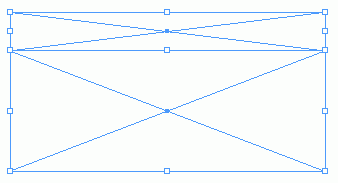
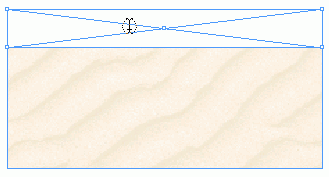
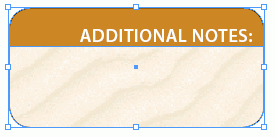
Start by drawing two frames, and place an image in the bottom frame. I’m placing a greyscale Photoshop file.
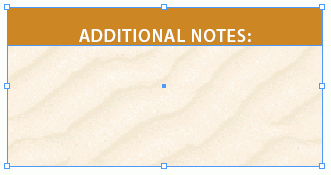
With the image placed and dimmed (using a tint of a selected spot colour), convert the top frame to a text box and add and format the required text.
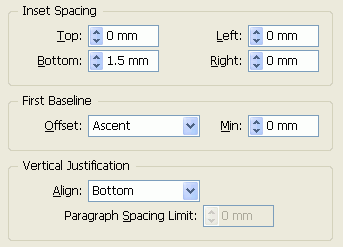
Amend the frame fill colour and text fill colour as needed, then set the text frame options and ensure that the text’s vertical alignment is set to bottom, and set an appropriate bottom inset spacing value.
Next, group (Object > Group) the content components, and select File>Cut to remove the content from the page and store it on the clipboard.
You have now finished preparing the content.
The outer frame
Next draw and format your outer shape. My shape (frame) contains rounded corners (Object > Corner Effects).

With the outer shape still selected, apply the Edit > Paste Into command. The content you’ve cut earlier is pasted into the shape.
Repositioning content
As with most images, placed into existing shapes / frames, the content will be aligned with the top left corner of the outer frame. To center the content within its frame select Fitting > Center Content. You may now use a number of methods to further reposition the content.

– select frame with group-selection tool (Direct selection + Alt/Option key) and then drag the frame up/down etc. to reposition it “over” the content.
– select content, by clicking with group selection tool on content component till content group is selected (Direct selection + Alt/Option key) and then drag the up/down etc. to reposition it within the outer frame.
Resizing the outer frame
To resize, use the Selection Tool to select the outer frame bounding box handles for manual resizing. Alternatively use the Control Strip to enter exact measurements for Width and Height (Ensure Transform Content and Scale Strokes has been disabled).

Task accomplished…
Leave a Reply