Fan of creative technology, elearning, instructional design and a little geeky

Tracing the Trace Graphic

Digitip 064 – Adobe Illustrator CS3

This tip is Part 2 of a three-part tip. Part 1 describes how the Photoshop artwork that is placed into the Illustrator file was created and Part 3 will create the Text Effect that will give our finished result.

063_finished.png

We’re ready to place the previously created Photoshop graphic in Illustrator now. But let’s create a New Illustrator document first that has the same width and height as the Photoshop file.

064_01.png

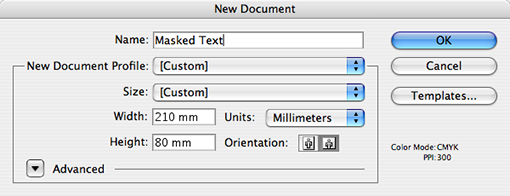
File > Place. Enable the Link option in the Place dialog. This will allow further editing of the Photoshop file at a later stage.

064_02.png

Tracing the Graphic

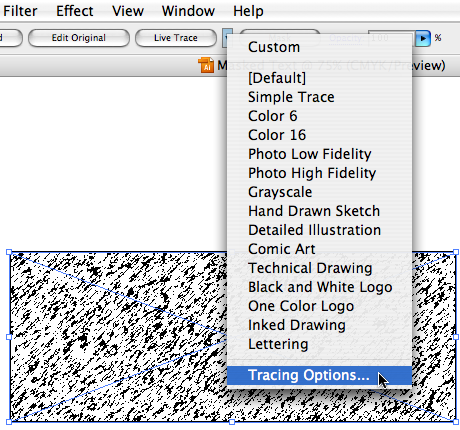
From the Live Trace menu in the Control panel select Tracing Options…

064_03.png

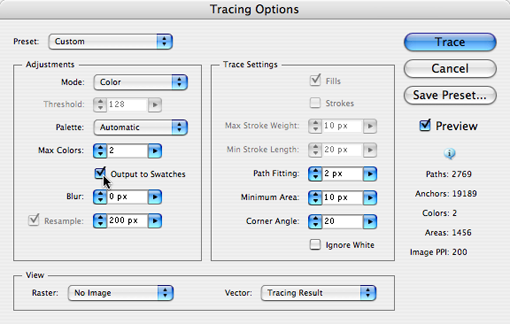
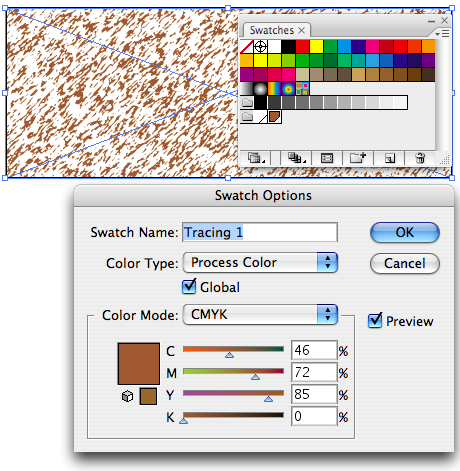
What I’d like to do is generate two colour swatches that I can easily edit, whilst retaining Live Trace ability. To generate these swatches on the fly as part of the Live Trace functionality, change the following Adjustments settings:

Set Mode to Colour, Set Max Colours to 2 and Enable Output to Swatches. With the Preview box ticked you’ll be able to see the Live Trace result. Feel free to make additional adjustments.

064_04.png

Click Trace to apply the settings and generate the swatches.

064_05.png

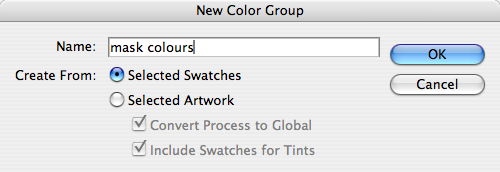
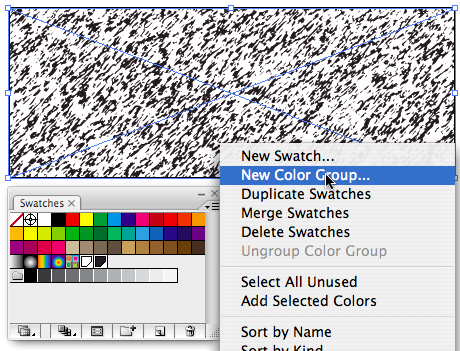
To make it a bit easier to identify the two swatches that are generated, shift-click the swatches in the Swatches panel, then select Create Colour Group from the Swatches panel menu. Name the Colour Group and select Create From: Selected Swatches.

Click OK.

Amending the colours

Editing the colours of the Colour Group is as easy as double clicking the colour and amending the settings.

064_06.png

We’re now ready to get the text part of this three-part tip happening, let’s continue at Part 3.

Similar posts
  • Fixing up old photos with Adobe Photoshop As part of the April 2015 Adobe User Group meeting in Perth, I recorded a series of videos that covered some of the tips we reviewed during that meeting. For a full read-up about this meeting, please visit the Rejuvenating old photos and documents meeting round-up page. Video 1: Converting an old sepia tone back [...]
  • How to create a tint for a colour in Adobe Illustrat... How can I make a tint for a colour in Adobe Illustrator? It’s a question I’m asked regularly by Illustrator users. There are two issues with the default settings when defining new colour swatches in Illustrator: When you apply the default colour swatches in Illustrator to your artwork, the swatch colour is not associated with the [...]
  • Illustrator CC (2014): Rectangle tool and Transform ... On June 18, Adobe released #CCNext. One of the applications updated in this release is Adobe Illustrator. We’re up to version 18 now with the Illustrator CC (2014) release. Renewed Transform panel and live shapes The renewed Transform panel contains a Rectangle Properties section that is active when you have a rectangle or rounded rectangle shape selected in [...]
  • How to remove a background from an image in Photosho... How do I remove a background from an image? The following Photoshop tutorial (youtube video) shows one of many techniques there are for removing image backgrounds. The technique used doesn’t permanently remove the background pixels in the images, but allows you to further correct and fine-tune the transparent background you create through the use of [...]
  • Illustrator: Patterned Gradient Stroke Effect Illustrator CS6 introduces the ability to apply a gradient to a stroke. This means we can now create tubular looking line effects, without the need to use more complex blending techniques. In addition, Illustrator CS6 provides strongly improved pattern controls. We can now create not only rectangular pattern tiles, but also hexagon shaped tiles, and [...]

No Comments Yet

Leave a Reply

Your email address will not be published. Required fields are marked *