Digitip 065 – Illustrator CS3, Photoshop CS3
This tip is Part 3 of a three-part tip and generates the masked text. Part 1 describes how the Photoshop artwork is created and Part 2 outlines how to apply Live Trace and maintain colour editing ability.
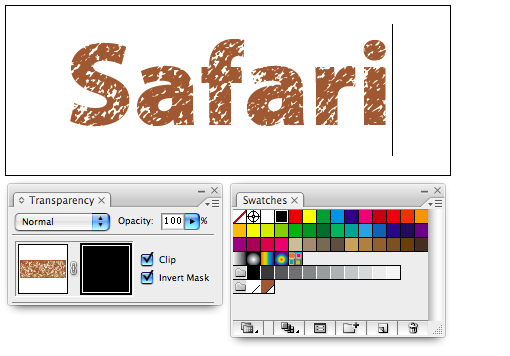
I’m adding my standard “Bogus” text. Select Text and Background (shift-click each with Selection Tool, or click drag Selection Tool around both objects). Ensure the Transparency panel is visible. From the panel menu enable “New Opacity Masks are Clipping” and “New Opacity Masks are Inverted”, then select Make Opacity Mask.
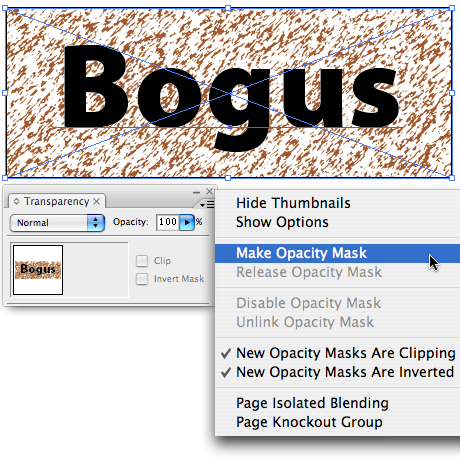
I’m not entirely happy with the result here.
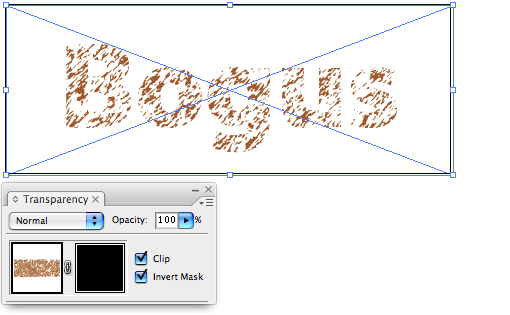
I would have liked to trace a darker image. Fortunately I retained the Link to the original Photoshop file that Live Trace was applied to… so let’s go and edit that…
Edit the original Photoshop file
In the Transparency panel, ensure the graphic (not the mask) is selected. Display the Links panel, then select Edit Original.
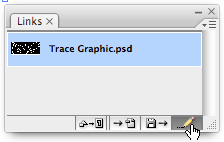
The image that is being traced in Illustrator opens in Photoshop.
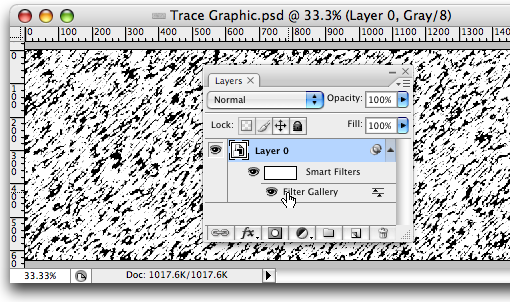
Double click the Filter Gallery layer in the document, and make preferred adjustments. Click OK and Save and Close the Photoshop document.

When you return to Illustrator, Illustrator will notices you’ve modified the original Photoshop file that was placed and asks if you’d like to update the linked Photoshop file. Click Yes to enforce the update and view the new result.
The cool thing about this technique is that you can:
a) edit the original Photoshop file that is being “Live Traced”, as long as you retain a Link to that file when placing it in Illustrator. This way you can take advantage of using Photoshop’s Filter Gallery, which I prefer to use over the more limited version that Illustrator has.
b) edit the Live Trace options…
c) edit the global colours generated by Live Trace
d) edit the text.
Edit Text
To edit the text ensure the Mask is selected in the Transparency panel. Next select your Type tool and make the text change.
Well, that completes a long overdue tip with lots of extras…
Leave a Reply