Digitip 072 – Adobe Illustrator CS3
Modified 20-Apr-2008 (added Scott C. tip)
The following tip shows how you can create a relatively simple continuous pattern using Illustrator. It’s been sitting on the back-burner for well over a month, but is finally here 🙂

So where do we start. Start by creating a bit of artwork that is going to form the basis for your artwork and draw a transparent rectangle or square around the artwork partially overlapping some of the edge objects.

I’m keeping things pretty simple here, just using some coloured blobs 🙂
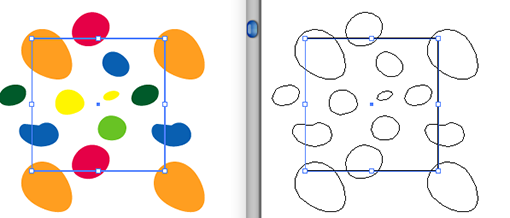
To make it easier to see the rectangle and ‘blobs’, change the View to Outline mode (View > Outline).
Next select all of the artwork including the rectangle, and start dragging it from one of the corners and whilst pressing the Shift+Option (Alt) key on the keyboard to create a copy. Snap the copy to the opposite corner.
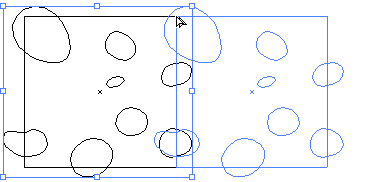
Continue to create more copies until you have a grid of nine.
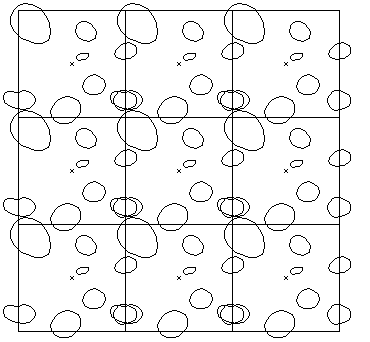
Next remove any artwork that does not overlap the center rectangle in any way.

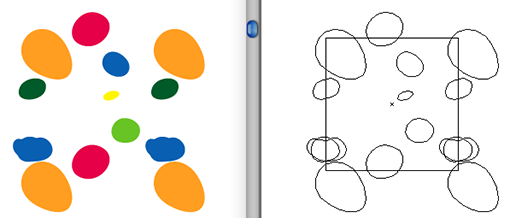
To continue work, it’s probably easiest to work two different Windows. One set to preview mode the other to outline mode. To do this select New Window from the Window menu.
At this stage you’ll probably spot overlapping objects, that might need repositioning. Select two related objects at time and reposition them simultaneously.
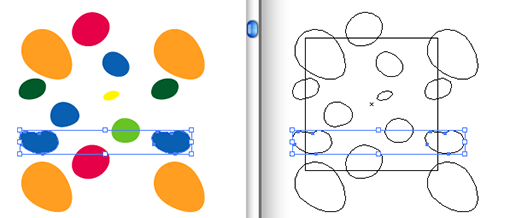
You might find that more objects need deleting. Ultimately you’ll end up with the base of what will become our continuous pattern.
Having cleaned up the pattern, now select all of the artwork again and deselect any artwork that doesn’t overlap the rectangular pattern tile. Display the Pathfinder panel and click the Divide button to break the artwork into small pieces.
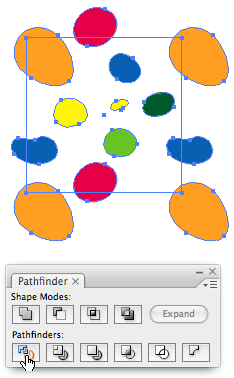
It’s now time to remove any pieces that don’t belong to the pattern.

Once you’re left with just the pattern pieces select Edit > Define Pattern.
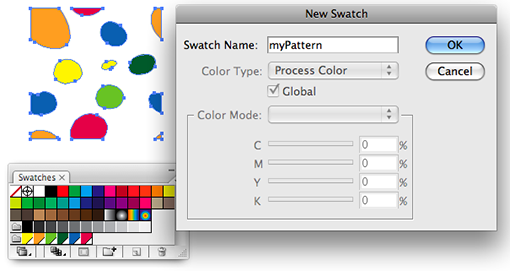
Name the pattern and click OK. The pattern is added to the Swatches panel.
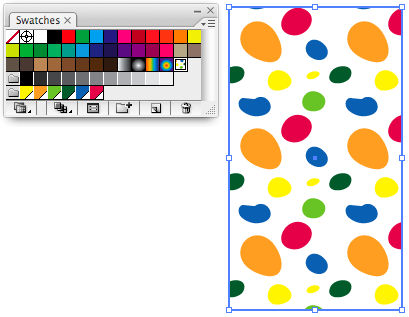
You can now apply the pattern as a fill to an object in Illustrator. Things might not look too crash hot, and you’ll probably find that with a small pattern like this you’ll easily spot the pattern.
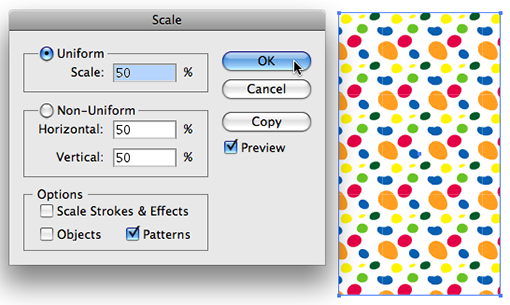
To scale just the pattern and not the object itself, select Transform > Scale and only check the Patterns box in the Options section of the dialog that appears. Enter the Scale percentage and click OK to apply the transformation to the pattern.
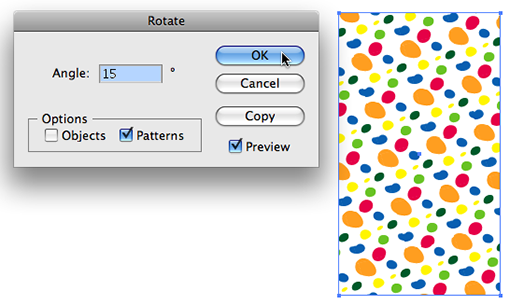
Use other transformations such as Rotate to further apply changes to the pattern fill you’ve created earlier.
Scott Citron kindly added the following note to this tip: “… pattern objects can also be scaled or otherwise transformed by dragging. For example, to proportionally scale a pattern choose the Scale tool and drag at 45º degrees while holding Shift + ~ (tilde). Same thing works with the Rotate tool.”
As my headset isn’t working with Leopard OS, I can’t yet add a video podcast to this tip, but hope to do so at a later stage.
Awesome! Thanks for sharing that one Scott 🙂
Great tutorial, Cari. Thought you might also like to mention how pattern objects can also be scaled or otherwise transformed by dragging. For example, to proportionally scale a pattern choose the Scale tool and drag at 45º degrees while holding Shift + ~ (tilde). Same thing works with the Rotate tool.
Scott