Digitip 061 – Adobe InDesign CS3
For those of us setting Ads in InDesign the introduction of the feature that can set Stroke Alignment on border objects to “Align Stroke to Inside” in InDesign CS was welcomed with open arms. Gone were the days of borders vanishing into the Pasteboard gray…
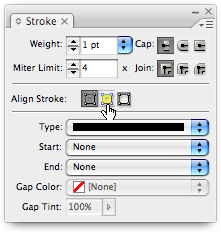
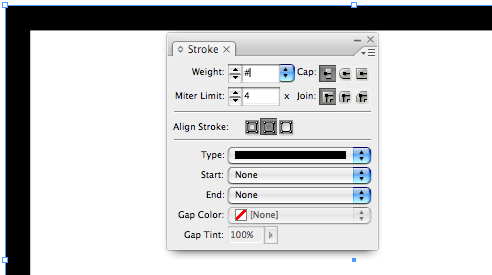
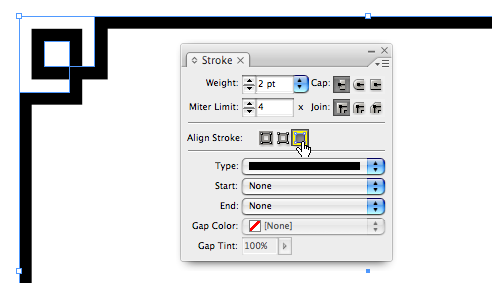
Changing the default Align Stroke setting from “Align Stroke to Center”, to “Align Stroke to Inside”, means that the stroke weight is always set to the inside of the ad-border.

With ad-borders generally sitting on the edge of the page, changing the stroke weight of the border object now becomes a painless task. Rather than the border falling of the edge of your ad (page), the border expands inwards.
Most of the Object > Corner Options… also take the stroke alignment setting in consideration, as long as you don’t try anything Fancy 🙂
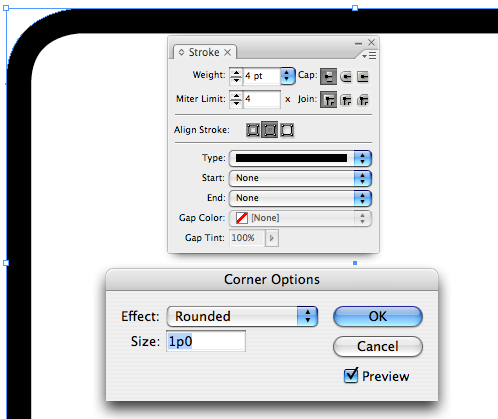
“Bevel”, “Inset”, “Inverse Rounded” and “Rounded” settings all play along nicely. But what happens if you change the Corner Options to “Fancy”?
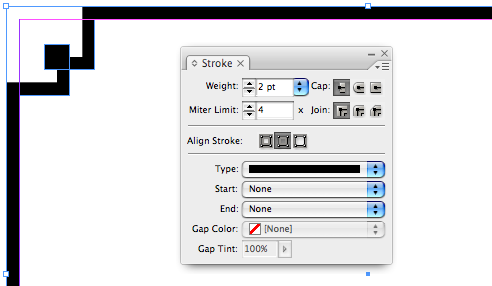
Well the border all of a sudden expands off the edge of your page, even though it clearly displays fully ‘inside’ the path area of the object containing the stroke. If at this stage you are no longer concerned about the Stroke Weight, the fix is simple:
Change the Align Stroke option to “Align Stroke to Outside” and all will sit nicely inside the page again.
So the motto of the day is:
If you fancy your border on the inside of your pages, set the Align Stroke settings to “Align Stroke to Inside”, unless you go with the Fancy corner option… then change your Align Stroke setting to “Align Stroke to Outside” immediately after setting the Corner Option and … be aware that changing the stroke weight will once again make things fall off the edge of your page.
I want a hairline stroke around a photo. I want a space between the edge of the photo and the stroke. Is there an automatic way of doing this with Indesign CS3?
It is one of the last posts where he covers making rounded buttons and has a free script on offer to boot. I pointed out that after the script is run and the object expanded you can add a stroke to the rounded object – otherwise the stroke appears on the now “invisible” original rectangle.
Cool stuff from both of you.
Cool, I must admit haven’t looked at Mordy’s blog for a bit, but just had a look, there are a few posts on corners not sure which one you’re referring to.
Cari,
Check out Mordy Golding’s complementary article (for Illustrator) on the topic of buttons/corners and strokes.
He posted at his rwillustrator blog and it was presented on one of the Creative sites (I forget the details at this time).