Digitip 022 – Adobe InDesign CS
(revision 2.1)
Anyone who’s met me, knows I always pack my Process Colour Guide, whenever visiting clients. This guide – developed by Agfa – contains lots of process colour swatch combinations, printed on coated and uncoated paper, and serves as a great visual aid when selecting process colours combinations for commercial process colour print jobs.
I’ve noticed over the years that many designers like to have a long list of swatches available in their swatches palettes from which they can easily pick colours when creating their jobs. Some use Pantone Process colour guides, but many use spot colour guides when adding colour – later converting them to process colour.
Unless you have the “solid to process Pantone process color imaging guide” or are using a Pantone process guide, the visual print by no means represents the colour appearance in the finished product. That’s why I carry around my process colour guide, it gives a pretty good estimate as to what colours would look like when printed on the different stocks. But how do I add all those swatches to my InDesign swatches palette? InDesign cs’s new Mixed Ink Group comes to the rescue!
Mixed Ink Group
To create your 1,000 process colour swatches as your swatch palette default, start by closing all documents. Then remove the default Red, Green and Blue swatches from the Swatches palette.
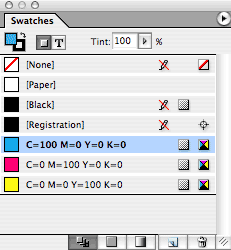
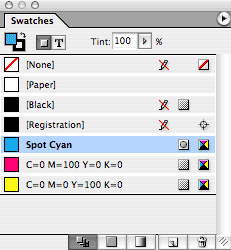
To create a mixed ink group, at least one colour must be defined as a spot colour. I’ve opted to change the process Cyan to “Spot Cyan”.
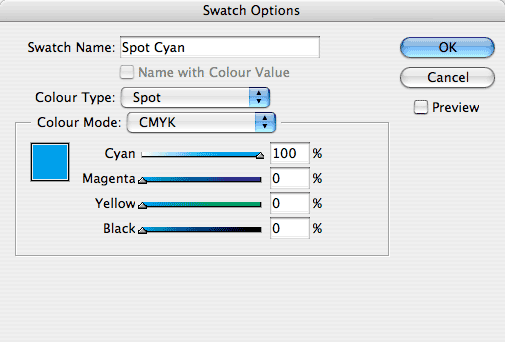
Now that one colour is a spot colour, the New Mixed Ink Group options becomes available from the swatch palette fly-out menu.
Name the Ink Group and select the inks you’d like to include.
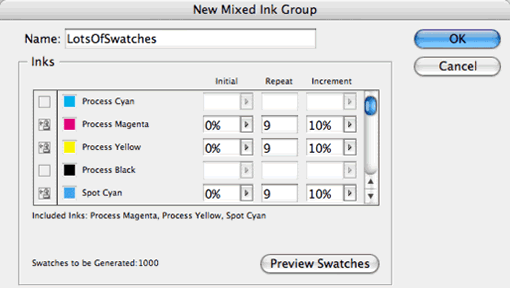
I’d like to create 10 x 10 x 10 = 1,000 swatches, which means I need to repeat each colour 9 times with 10% increments. Click OK to generate the mixed ink swatches.
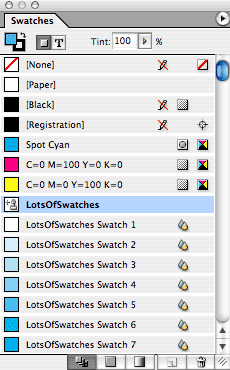
Your swatches palette now contains an additional 1,000 colour swatches. The do however still contain one spot colour (Spot Cyan).
Converting to Process Colours
Double click the “LotsOfSwatches” swatch to access the Mixed Ink Group Options, and select “Convert Mixed Ink Swatches to Process”.
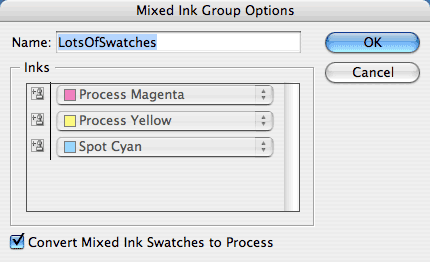
Your colour swatches have now all been converted to process colour. However they are still named “LotsOfSwatches Swatch 1, 2, 3” etc. Click the first swatch, then scroll down to the last swatch and SHIFT-click the last swatch to select all swatches. Select Swatch Options from the palette menu, and tick “Name with Colour Value”, click OK.
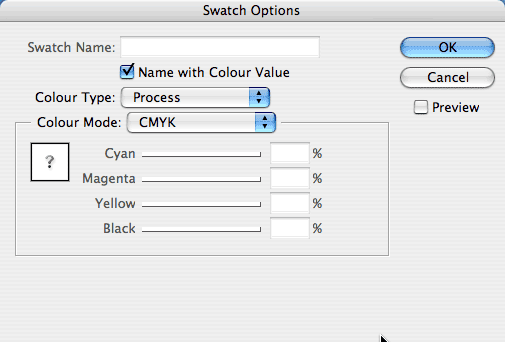
Your colour swatches are now all named with their colour values.
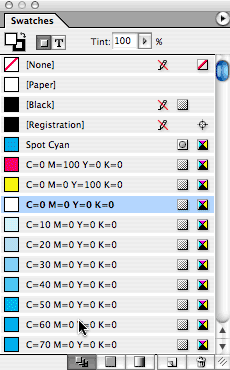
To display your 1,000 (+4) swatches made up of Cyan, Magenta and Yellow percentages as a painter’s palette, select “Small Swatches from the palette’s fly-out menu.
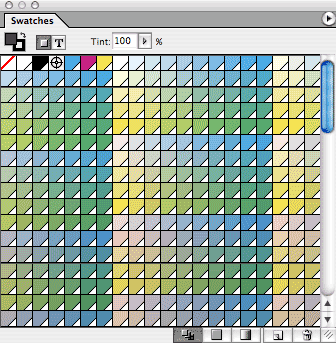
Done…
This technique doesn’t need to create 1,000 swatches, selecting less colours, and less increments, will generate a smaller number of swatches.
Note (30 Sept 2006) I’ve been informed that the Agfa process colour guide is no longer being published. However, a similar product is available from Trumatch: the ColorFinder.
Thanks the world! :~)