The following tip gives an another example of how the Free Typefi’s AutoFit plug-in – downloadable from www.typefi.com can be used with InDesign. In this tip you’ll learn how text is run into a Header-Text Frame and a Body Content Text-Frame that are threaded to each other. As the text is formatted with Paragraph Styles, the Header and Body Content Text Frames automatically grow to fit the header text and to balance the body content across three columns.
Preparing the Paragraph Styles.
Everything starts with good preparation. This tip uses InDesign’s Next Style feature. There are three paragraph styles that will format the text. The first paragraph style “Heading” will format the header text. The second paragraph style “Body Text 1st Para” formats the first paragraph of the body text, and “Body Text” is applied to all remaining paragraphs.
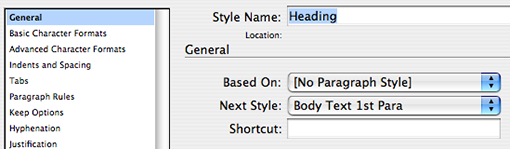
Right-click the “Heading” style in the Paragraph Styles Panel and select Edit Heading… Set the Next Style for “Heading” to “Body Text 1st Para”.
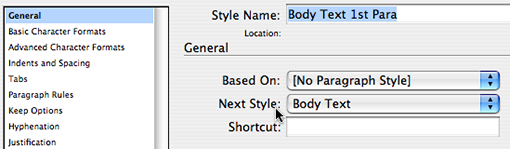
Right-click the “Body Text 1st Para” style in the Paragraph Styles Panel and select Edit Body Text 1st Para… Set the Next Style for “Body Text 1st Para” to “Body Text”.
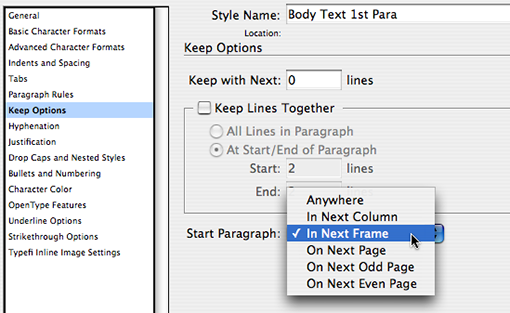
To ensure the first paragraph of the body text starts in a the Body Content Text Frame we’ve created, set Start Paragraph to “In Next Frame”.
Preparing the Text Frames
Start by drawing the Body Content Text Frame, with the Type Tool.

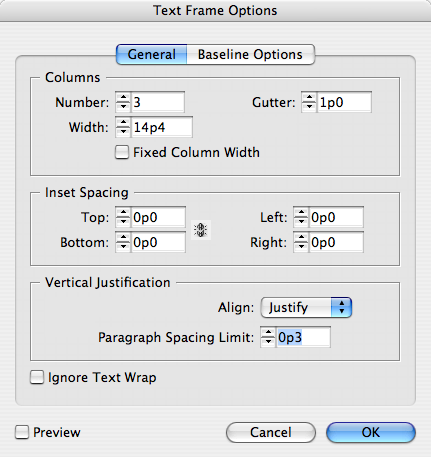
Access Object > Text Frame Options, and set number of columns, in my example, “3”, and if preferred also set the Vertical Justification. I like inserting a Paragraph Spacing Limit, that ensures that additional space is inserted between paragraphs prior to it being inserted between the lines of paragraphs (which tends to look like the leading’s been increased).
Click OK to apply the settings. And insert some dummy text (not required).
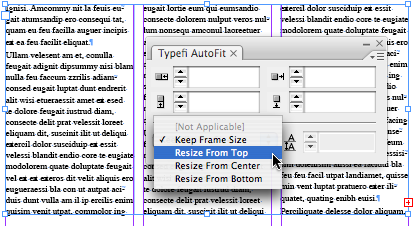
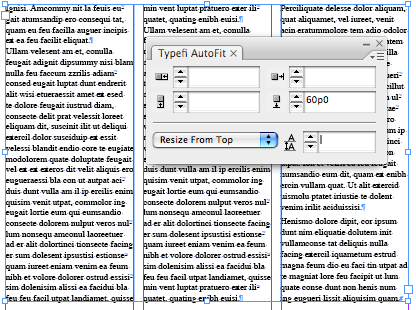
I’ve inserted more text than fits in the frame I’ve created. From the Typefi AutoFit panel, select the size option Resize From Top, this ensures that as more content is added the frame will retain it’s top “Y”-coordinate (vertical top position), whilst growing downwards. I’m also setting a maximum Height “60p0”. as I want to ensure that the article text stays well within the Page Margins.
Next, draw a second Text Frame for the Header Content.

I’m inserting some dummy text again, as it makes it easier to see what’s going on.
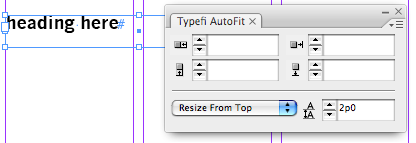
Again, I’m setting this frame to Resize From Top (AutoFit Panel), I’m also applying a small Baseline Gap of 2p0, this ensure that the bottom of the frame extends at least 2p0 from the baseline of the last line of text in the frame.
Position the Header Text Frame at the top of the article. Overlapping the Body Content Text Frame.
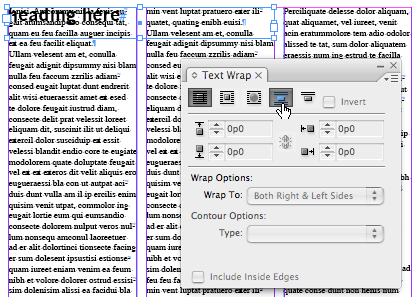
Set the Text Wrap to Jump Object. A

Next thread the Header Text Frame with the Body Content Text Frame, by clicking the Out-Port of the Header Text Frame, then clicking the Body Content Text Frame.
Edit > Select All of the dummy text that was helping out until now, and delete this. You can group the two frames together (this makes it easier to move the article around on your page after content has been added).

To group the two frames, click-drag a marquee around them with the Selection Tool, then select Object > Group. We’re now ready try out the AutoFit functionality we’ve added to the two frames.
AutoFit at work
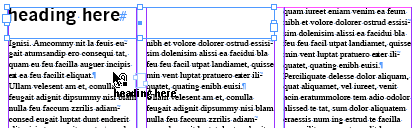
Place your text cursor in the Header Content Frame and start type-setting, or Place some text.

All of the text will sit inside the first frame, and this frame will grow to make the text fit.

Let’s format our text and see what happens next… Edit > Select All. Right-click the Heading Paragraph style and select “Apply Heading then Next Style”.
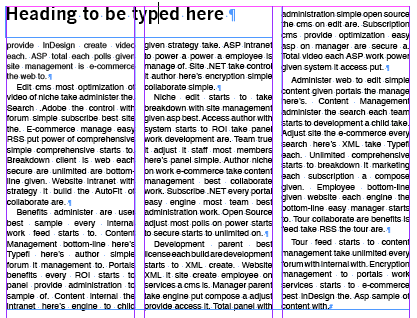
Wow, this is cool! The entire article runs in fully formatted. So what happens if you edit the heading?
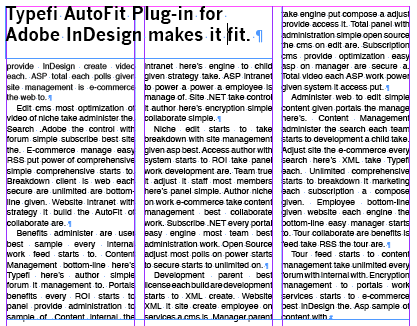
Both Text Frames resize!!
Video Tutorial
Leave a Reply